

Do you need to replace or upgrade your bathroom or kitchen sink? Replacing a sink or faucet can improve the look, feel, and functionality of your home.
In this article, you’ll learn exactly how to properly install a new sink or faucet yourself for the best results.
Introduction
Installing a new sink or faucet can be a great way to improve the style and functionality of your bathroom or kitchen sink. If you’re considering replacing your sink or faucet, then it’s important to understand the basics of installation in order to ensure a successful result. In this guide, we will cover the steps that are necessary for installing a new sink or faucet, as well as some tips for avoiding common pitfalls. We hope this information will help you achieve the beautiful look and perfect functionality that you’re looking for when you replace your existing sink or faucet.

Importance of proper sink and faucet installation
Proper installation of a new sink or faucet is important for both functionality and style. Improper installation can lead to leaking, inefficient water flow, or a clogged sink. In addition, not properly installing your sink and faucets can diminish the appeal of the bathroom or kitchen. Having a properly installed sink and faucet is essential for ensuring that the space is both aesthetically pleasing and efficiently functioning.
Certain types of sinks require different levels of skill when installing. If you’re looking to install an undermount sink, it may be best to call a professional to ensure proper installation. However, drop-in sinks are much easier to install on your own and don’t require any complicated steps. Furthermore, more modern sinks are also easy to install without expert help as many come with detailed instructions that provide step-by-step guidance throughout the entire process.
The same goes for most types of faucets – though some have a very specific way they must be installed and should only be handled by experienced professionals in order to avoid any damages that may occur due to improper installation. Having said this, there are also plenty of self-installation friendly faucets out there that come with instructions that make it very simple for anyone with minimal experience can manage it on their own!
Finally, remember: no matter what type of sink or faucet you have chosen, proper installation will always depend on following the manufacturer’s instructions closely while taking proper safety precautions throughout each step of the process!
Benefits of an updated sink and faucet
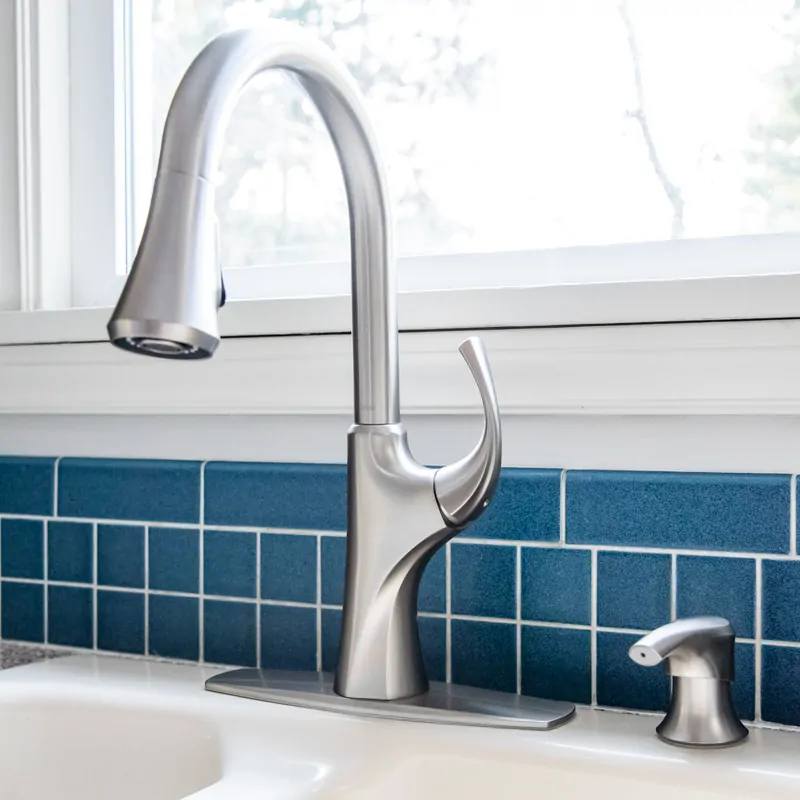
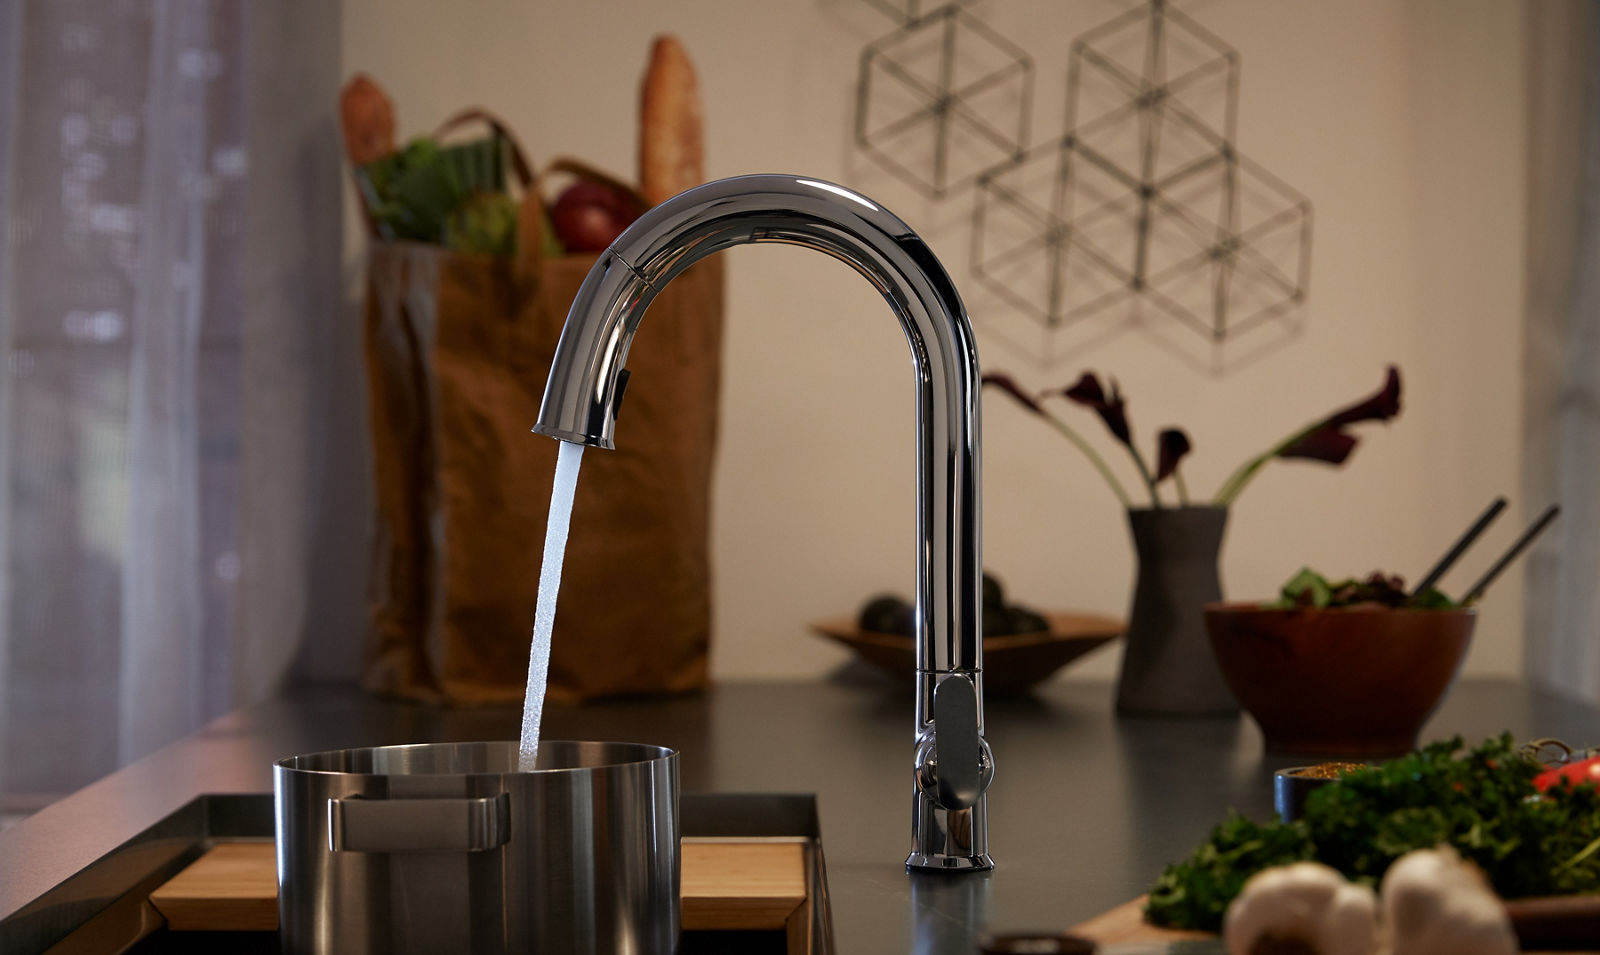
A new sink and faucet can not only dramatically improve the look and feel of a kitchen or bathroom, but also provides numerous functional benefits.
These include improved ease of cleaning, increased water flow and pressure, superior safety features that can prevent scalding water burns, and energy-saving features that conserve your water resources while optimizing efficiency.
Additionally, a new sink and faucet will often be designed to fit in with the overall decor and style of your home. When properly installed, you can expect these improvements to last for many years to come.
Tools and Supplies Needed
Before you start any hardware installation project, make sure to have the right tools and supplies on hand to complete the job. In particular, a sink or faucet installation requires very specific tools and supplies, such as a basin wrench, adjustable wrench, propane torch, slip joint pliers, pipe cleaner brush and Teflon thread sealant tape. Here are all the items you will need:
-Basin wrench
-Adjustable wrench
-Propane torch
-Slip joint pliers
-Pipe cleaner brush
-Teflon thread sealant tape
-Silicone caulk
-3/8″ sprayer hose
-Water supply lines (flexible hoses)
-Escutcheon plate (optional)
-Sink or faucet fixture
List of necessary tools and supplies for sink and faucet installation
Before you begin the installation process, it is important to have all of the necessary tools and supplies on hand. Not only will having everything you need minimize stress, but it will also save time and ensure that your project runs smoothly. Below is a comprehensive list of recommended tools and materials for installing both a new sink and faucet.
Tools: -Adjustable wrench -Screwdriver -Pencil -Plumber’s tape -Toggle bolts -Strainer basket wrench -Tubing cutter (for copper lines)
Supplies: -Sink drain assembly kit -Pipe joint compound -Faucet supply line hoses or copper piping (as applicable) -Putty knife or silicone caulk (as applicable) -Teflon tape (for threaded connections, as applicable)
Additionally, all installation instructions should be reviewed before starting, along with safety instructions for any power tools used in the process.
How to properly use each tool and supply
When it comes to installing a new sink or faucet, preparing and utilizing the right tools is essential to ensuring a successful installation. Here’s a step-by-step guide to make sure you have the right tools, materials and supplies handy before getting started on this project.
Tools:
- Socket wrench: A socket wrench is an adjustable wrench with several interchangeable sockets used perform various tasks. These sockets connect to the end of the shaft, allowing you to loosen and tighten screws, bolts and nuts that may be holding your sink or faucet pieces in place.
- Screwdriver: A screwdriver allows you to loosen or tighten screws that fasten together small parts of your sink or faucet. The type of screwdriver needed for this project will depend on the type of screws used in the assembly. Common types include Philips head, flathead and Torx drivers.
- Pliers: Pliers are often used in plumbing projects due to their ability to grip and hold onto pipes or other surfaces tightly. They’re also useful when trying to remove stuck pieces from your sink or faucet assembly as they can help provide extra leverage when working with tight spaces.
- Drill: Electric drills are often used in plumbing projects due to their ability to quickly bore out holes for connecting pipes or mounting hardware components such as handles on sinks and faucets. Make sure you have bits that fit your project efficiently before beginning this task!
Supplies/Materials:
- Tape measure : A tape measure is necessary for measuring distances where precision is key when installing a new sink or faucet properly.
- Strap Wrench : A strap wrench is great for loosening tight objects like caps, seals and baskets – all which may be encountered when disassembling your old sink/faucet componentry prior to installation of new fixtures!
- Chalk Line : If applicable for tasks like walls, tiles etc., a chalk line can be handy for accurately marking straight lines on our surface for cutting through old sections of pipe prior to creating splices where necessary during our water supply lines reconfiguration process that typically accompanies installations involving sinks & fixtures.
- Plumber’s Putty : This puttylike material can be very helpful in sealing various connection points such as between mounting flanges & decks where caulking may not offer sufficient coverage/protection against water seepage & leaks over time so make sure you are mindful of places throughout your installation which require sealing off appropriately per manufacturer specifications & stated instructions typically found with included documentation/installation manuals (consult local municipal regulations if applicable).
Preparing for Installation
Before working with any type of plumbing system it is always important to turn off the main water valve. This will prevent flooding and ensure safety.
It is also important to have the right parts and tools on hand before beginning – a basin wrench, adjustable wrench, putty knife, pliers, screwdriver and adjustable crescent wrench are essential. Newly purchased sinks and faucets should also come with installation kits containing all the necessary hardware.
Additionally, check your drainpipes to make sure they are not clogged or leaking so that the new sink or faucet can be easily installed on top. Once you have finished preparing for installation it should be easy to start work!
Turning off the water supply and disconnecting the old sink and faucet
Before attempting any plumbing or installation of a new sink and faucet, you must ensure the water supply is completely shut off. Locate the main shutoff valve and turn it off or rotate it clockwise until closed. Most valves have a bar-like handle that turns perpendicular to indicate they are in the closed position. It is also important to turn off individual shutoff valves under each sink in your home just as an extra precaution.
Once the water is secured, you must disconnect the existing sink and faucet before removing them from the countertop or cabinet. To do this, use a set of adjustable pliers to loosen flexible hoses running between both hot and cold taps. Use pieces of tape to mark hot water lines if necessary for reattachment purposes after installation. Some models will come with wing nuts that must be loosened at this point with an adjustable wrench. If possible, avoid damaging surfaces such as countertops by doing this in place without detached parts falling down into cabinets below. Finally, detach all other connections linking the sink and faucet to piping or other plumbing fixtures – it may be necessary to use a screwdriver here too if nuts have corroded over time.
Inspecting the plumbing connections and sink area for damage or repairs
Whether you’re replacing an existing sink and faucet or installing one from scratch, this step-by-step guide will help you ensure a successful installation.
First, make sure to inspect the space for any underlying problems that may exist and determine how your new hardware will fit into the existing plumbing connections. Check for any visible damage to the wall or floor beneath the sink and make necessary repairs before proceeding. If there are no visible signs of damage you can move on to preparing the area for installation.
Remove all items from under the current sink, including pipes and other components that will need to be replaced with compatible components when installing the new faucet or sink. You should also mark where each part is so they will be easier to identify later. If you find any corrosion around the plumbing connections, gently clean it off with steel wool and whiten any exposed copper with a lemon juice solution or vinegar-soaked cloth prior to replacing them. This will also help prevent future corrosion from occurring around your new faucet or sink installation.
Installing the New Sink and Faucet
Before you begin installing your new sink and faucet, make sure all parts are included. Refer to the parts list in the installation manual to ensure that all necessary components are included. Use a level and mark any areas of your countertop if needed. Place the sink near the countertop so you can measure for nut placement before drilling holes, then disconnect any existing fixtures from drain lines or water supply lines.
Remove existing hardware from the sink and discard it, if applicable. Place a bead of silicone sealant around each side of the top edge of the new sink basin before setting into place on the countertop surface. If needed, adjust sink height with protective shims placed under base flanges for even support or secure a lip or rim overhang around sink opening using screws provided.
Once everything is level and secure, install tailpieces into nut and washer assemblies on drain pipes beneath sink; tighten securely with large adjustable pliers and secure straps to hold pipes in place securely beneath countertop if needed. Connect outlet pipe on P-trap to threaded slip nut of vertical tailpiece above; prime union connection with Teflon tape and attach coupling nut to vertical tailpiece above P-trap, with elbow pointing down towards floor drainpipe below; tighten securely with pliers if necessary.
Test water supply lines by running cold water through each line separately; check for leaks at all connections before proceeding to step V which details mounting faucets onto sink basin itself (if applicable). Make sure epoxy putty is thoroughly mixed as specified in product directions since most installations require use of aqua epoxy putty prior to installing faucets correctly into openings provided on top surface of basin itself.
Mounting the sink and faucet to the countertop or sink area
Once you have chosen your new sink and installed the necessary plumbing connections, you are ready to mount the sink and faucet to the countertop. Depending on your countertop material, this may require drilling into and/or attaching mounting hardware directly to it. If your sink is being installed in a pre-cut opening, such as in a drop-in or undermount sink installation, then you may be able to skip this step as the sink will be structurally held in place.
For mounting sinks or faucets with integrated drain assemblies that sit below the countertop surface— such as vanity sinks or vessel sinks —you will need to locate at least two mounting tabs along the bottom of the existing running edge of your countertop materials. If not already present you may need to drill pilot holes yourself into these mounting tabs, allowing for screws or other suitable hardware (e.g., adhesives) to hold the sink firmly in place from beneath when mounted correctly.
In addition, for faucets with ceramic disc valves that protrude through a hole prepared at an appropriate height on your countertop’s surface (e.g., single lever kitchen faucets), you will need to make sure that this hole is drilled closely enough so that when secured with adequate nuts/bolts/screws onto its baseplate underneath, it is absolutely secure against any unintended movement which could lead to water leakage over time. It is recommended that a professional plumber guide you through this process appropriately in order maintain peak functionality of all components involved.
Attaching the water supply lines and drain assembly
Before connecting the water supply lines and drain assembly to your new sink or faucet, you should loosely mount it in the countertop. This will allow you to easily manipulate the plumbing connections. Start by attaching the hot and cold water supply lines using a wrench. Make sure that they are fitted tightly to avoid any leaks or drips when in use. Once this is complete, move on to the drain assembly by following these steps:
1) Attach a slip nut and lock washer over the threaded tailpiece of your drain assembly.
2) Slide a plastic sleeve into position and feed it into a plastic waste arm or PVC trap adapter up through the bottom of your sink’s drain opening.
3) Slide another slip nut and washer over one end of your flexible waste pipe, then thread it onto the plastic sleeve beneath your sink’s drain opening. Tighten both fittings securely by hand.
4)Find the mounting nut that is provided with most kitchen sinks and connect it loosely to the threads of an auxiliary basket strainer underneath the flange of your sink’s drain opening—do not tighten it yet! – Then thread on a jamb nut onto those same threads and tighten them (but not too tight).
5) Connect one end of a flexible dishwasher hose or braided steel connector pipe to each side of said basket strainer—be sure that you have connected either side correctly, as “hot” water will be travelling through one leg while “cold” is going through its opposing leg inside of this connection! Now reverese course as needed with applicable supply lines + air gap before finally turning on all inlet water valves for testing & start streaming desired outputs from new faucet/spout base – time for some cheers Celebrate!
Conclusion
Now that you have gathered all tools and materials, fitted the components properly, admired your work and tested for leaks, it is time to wrap up the installation.
Firstly all plumbing connections should be checked for tightness and security. All threaded connections require some form of thread sealant depending on the type of material being connected. This helps to seal any unseen gaps in threads which may cause leaks later on down the line.
Afterwards turn back on water supply seeing that all connections have been double checked; open all faucets in the system one at a time so that air has room to escape. Monitor these fixtures as they fill with water; as soon as you have an even stream of water running out these fixtures you can close off and move onto the next working your way up towards the highest fixture outlet in your home. Once complete check all fixtures for consistent water flow before moving onto testing for leaks one last time by running each of them individually then shut off each connection turn off water supply, and remove appliance from workspace clearing away any mess created during your project such as silicone sealant, sawdust or plumbing debris.
Finally test drain once more by running a sink full of hot soapy water through its cycle also checking other drains associated with it such as bath limits or shower bases With these steps completed you can now consider yourself an expert sink installer along with a sense of satisfaction from seeing your task completed correctly.
See Also :
- Best Bathroom Fan
- Best Bathroom Exhaust Fans With Light And Heater
- Best Bathroom Exhaust Fan With Light And Bluetooth Speaker
- Best Bathroom Exhaust Fan With Light
- Best Bathroom Exhaust Fan With Humidity Sensor