

Are you frustrated with a leaky faucet or running toilet? Stop wasting any more water and money on repairs. In this guide, you’ll learn how to fix these annoying problems quickly and efficiently while saving on your utility bills. So, plug in and let’s get started!
Introduction
The purpose of this guide is to provide homeowners with an overview of the steps needed to properly repair a leaky faucet or toilet and the resulting benefits such as improved water conservation and cost savings.
This guide will cover a wide range of topics concerning plumbing repairs, including: identifying the source of a leak, finding suitable replacement parts, and utilizing safe DIY installation practices to ensure success. With these tips and instructions, you will be able to improve water conservation in your home by fixing leaks in your plumbing system.
This guide will also provide you with simple tips for ensuring that your repairs are cost-effective. With many leaking faucets or toilets running up unnecessary costs on water bills every month, proper repair can be an instant financial relief for any homeowner looking for savings on their budget.

Explanation of the importance of water conservation
Water conservation is an important step in protecting and preserving our natural resources. When a leaky faucet or toilet goes undetected, it can lead to thousands of gallons of water being wasted. Not only does this cost you money on your water bill, but it can also lead to additional water contamination and the eventual disruption of surrounding ecosystems.
Repairing the leaks in your home not only stops the waste but it can also save you money over time on electricity and gas costs associated with running heating systems for hot water. Taking action will help ensure that you do your part to conserve precious resources, which is essential for our way of life now as well as in the future.
Brief explanation of the benefits of repairing a leaky faucet or toilet
Stopping a leaky faucet or toilet can save you money and improve water conservation efforts. A leaky faucet or running toilet can waste thousands of gallons of water each year! It is important that when you notice a leak, you take the appropriate steps to repair it quickly to protect your wallet and conserve our limited water resources.
The cost savings from proper repairs can quickly add up over time, especially if several fixtures are affected. Additionally, the more efficiently your plumbing system works, the more effectively it will continue to operate over its lifetime. Repairs can also help prevent further damage due to broken components, which could result in costly repairs or complete replacement of the fixture(s). By keeping your faucets and toilets running properly now, you can ensure they will be in good working condition for years to come.
Having quick access to information about how to fix small problems yourself is a great way to reduce repair costs and save time. This guide provides easy-to-follow instructions for basic repairs so that anyone with basic tools and knowledge can make home plumbing fixes confidently and efficiently.
Identifying the source of the leak
The first step in repairing a leaky faucet or toilet is to identify the source of the leak. Sometimes you may see water trickling out of the faucet or hear dripping from inside a wall. In other cases, you may need to make closer observations and use specific troubleshooting techniques. Here are some ways to help pinpoint the location of your leak:
- Examine both the inside and outside of your home for signs of moisture or discoloration. This could indicate that a pipe has been leaking under the foundation or in your walls.
- Take note anytime you hear dripping water, as this probably means that a pipe has come loose and needs repair.
- Look for wet spots on ceilings, walls, cabinets, and floors that could signify a hidden leak coming from behind them.
- Inspect all valves, joints and fittings throughout your home (including any lines going to an outdoor hose) to make sure they are secure and in good condition.
- Make sure all appliance water lines are connected properly – if there is ever any rust-colored water coming from faucets when those appliances should be off, this can indicate an issue with one of those lines.
Determining if the leak is from the faucet or toilet
When diagnosing a faucet or toilet repair, it is important to identify the source of the leak. One of the first steps is to determine if the leak is coming from the tap itself or from the toilet. To check for a leaking faucet, start by checking that all parts are tightly secured and that no parts are damaged causing water to escape. If there appears to be nothing visible, then proceed with checking for additional visible areas of leakage and any corrosion on visible piping or connections.
To diagnose a leaking toilet, first ensure that all nuts and bolts connecting plumbing fixtures are tightly secured. Then check all exposed pipes leading in and out of the toilet for signs of leakage around fittings and joints. Also look under the tank lid at all water supply lines and connections leaving the tank to make sure they are secure. Finally, flush half way down and observe if water continues running after flushing has finished; this could indicate an issue with internal components in your toilet’s flush valve assembly.
Examine your sink or tub’s overflow pipe as well as any flexible tubing connected to it; these may be indicators that your shutoff valves need replacement or adjustment, creating excess pressure which can damage connections over time leading to further issues surrounding water conservation and cost savings.
Checking for visible signs of wear or damage
When attempting to repair a leaky faucet or toilet, it is important to check for any visible signs of wear and/or damage. This can be done by visually inspecting the fixtures and/or by performing a careful listening test around the exterior of the fixtures.
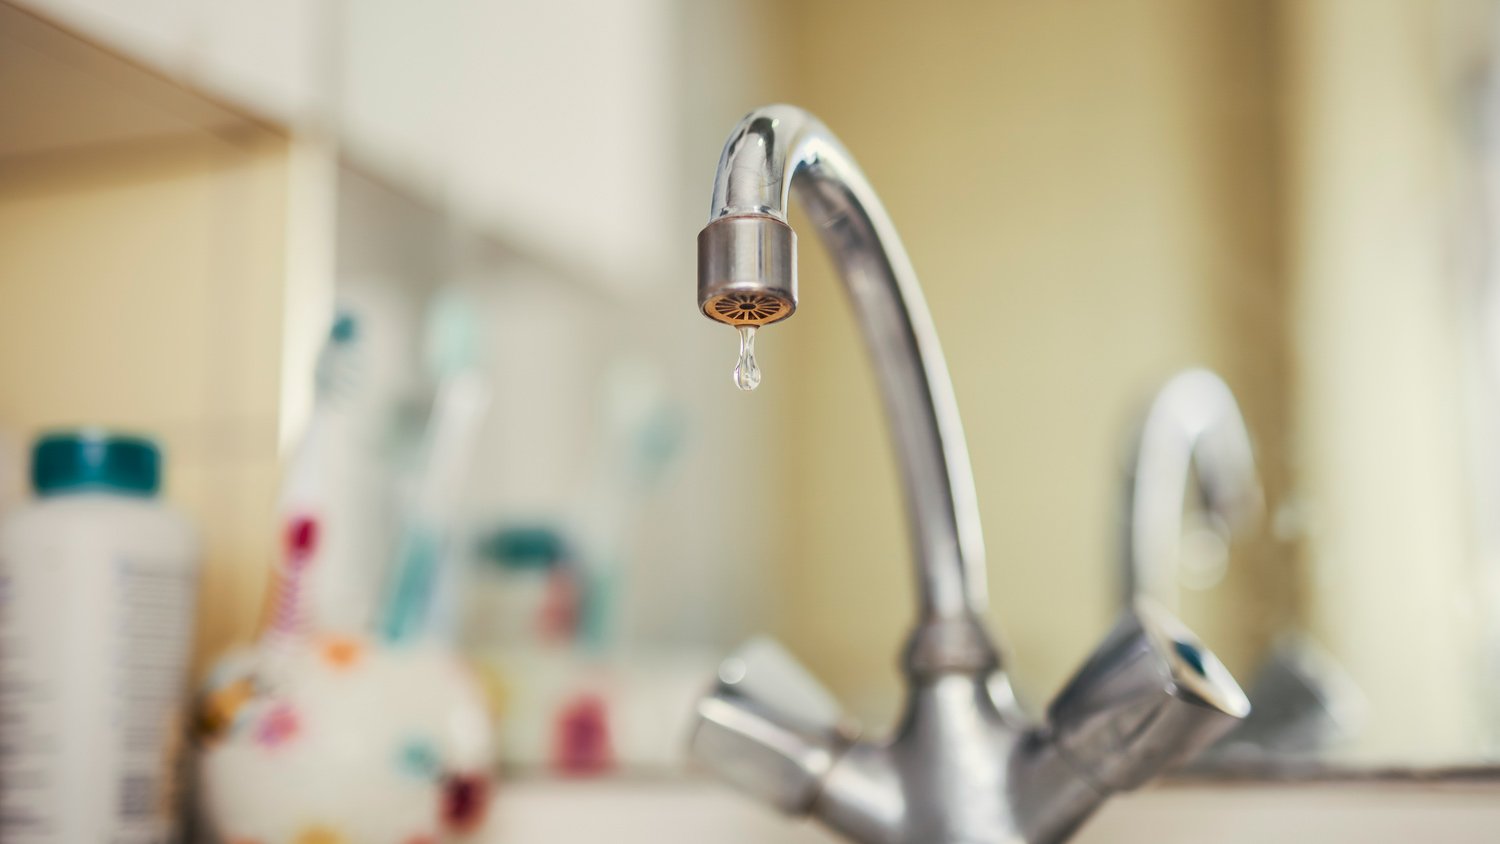
In the case of a faucet, this involves observing for any water droplets at the base of the spout, in between levers, or around valves. In regards to toilets, conduct a listening test around base and main tank for any sounds of water flowing through cracks or crevices.
Its also important to keep in mind that corrosion throughout metal components can indicate more severe issues such as pipe erosion from hard-water. If any scenario arises, contact a plumbing expert before attempting further repairs.
Planning the repair process
It is important to plan the repair process before beginning, so that you ensure a smooth and successful repair. The three stages of planning the task include: Gathering Materials, Analyzing the Problem and Establishing a Strategy.
Gathering Materials: Before starting any task, it’s essential to collect all the needed items. Ask yourself what tools and supplies you need to complete the job in an efficient manner. Relevant items will differ depending on the type of repair needed, but common needs include plumbing tape, wrenches, screwdrivers and pliers.
Analyzing the Problem: In order to properly fix a leaky faucet or toilet it’s important to understand how things are connected and why they are leaking. Start by removing parts to observe how pieces fit together for better insight into how things work. Inspect each component for issues such as corrosion or damage that could be causing your specific problem.
Establishing a Strategy: Once you have identified potential issues based on your observations and analysis, consider what steps are necessary for proper repair or replacement of affected components. If certain parts don’t seem possible or feasible to replace, think about alternative solutions that could still provide effective results long-term.
Gathering necessary tools and materials
In order to successfully repair a leaky faucet or toilet, it is important to gather the necessary tools and materials before beginning. Generally, this includes a plumber’s putty, hex wrench, lock nut wrench and Phillips screwdriver. Depending on the specific issue that needs to be resolved, different tools may be required – so it is best to confirm what will be needed ahead of time.
Additionally, it is important to have replacement parts for any fixtures that need replacing; these can typically be purchased at any hardware store. A homeowner should also ensure they have enough supplies to complete the job – such as paper towels, rags and petroleum jelly. These items can help make the repair process easier and more efficient.
Selecting replacement parts
If you plan to repair your leaky faucet or toilet to improve water conservation and cost savings, the first step is to select replacement parts. Obtaining the correct parts for your project is essential as not all fixtures use parts of the same size and design. When selecting a replacement part, you should also consider the materials used to ensure compatibility with existing plumbing supplies. Before ordering or buying a part, it’s important that you note down your fixture’s model number and manufacturer name so that you can find the exact part for your installation. This information can typically be found stamped on either side of the original fixtures, pipes or valves.
In addition to matching model numbers, be sure to check that other components such as fittings, seals and gaskets are also compatible for proper fitting around any associated pipe connections. Incompatible models may cause leaks upon use due to incorrect sizes or poor fitting which would reduce water conservation efforts if not properly addressed in time. Furthermore, unless otherwise noted; when selecting a new part look for one with higher durability which may have an improved pressure rating or have better built-in features that increase the longevity of its usage even at high temperatures due to increased insulation quality.
Repairing a leaky faucet
When repairing a leaky faucet, the first step is to determine whether the leak is coming from within the fixture itself or if it is persisting despite attempts to repair it. If the leak is within the fixture, then it needs to be removed from its mounting and all parts inspected for wear and tear. This can normally be done without needing any additional tools or parts.
If the issue is still present after thoroughly inspecting the unit, then it is time to replace any necessary components that may be causing an issue. Most often, this will include replacing a faulty washer inside of the faucet or replacing internal O-rings and/or cartridges. Additionally, depending on the type of material used during installation, you might need to replace plumbing connections as well – take special care when dealing with more fragile materials such as brass or copper fittings.
Once all necessary components have been replaced and are secure in place, you should test for continued leakage and make sure all connections are properly tightened before putting everything back together. This step will likely require some amount of effort as many connections need significant force in order to seal effectively and reduce leakage going forward. Following this process should help ensure water conservation levels are improved definitively and cost savings for utilities bills can be realized over time due to reduced usage fees going forward.
Disassembling the faucet
If you want to repair a leaky faucet or toilet, then the first step is to make sure that the water supply is shut off. This can be accomplished by turning the valve directly below the sink where the faucet lines enter the wall. Additionally, you may wish to place a bucket under the sink to catch any remaining water during the disassembling process.
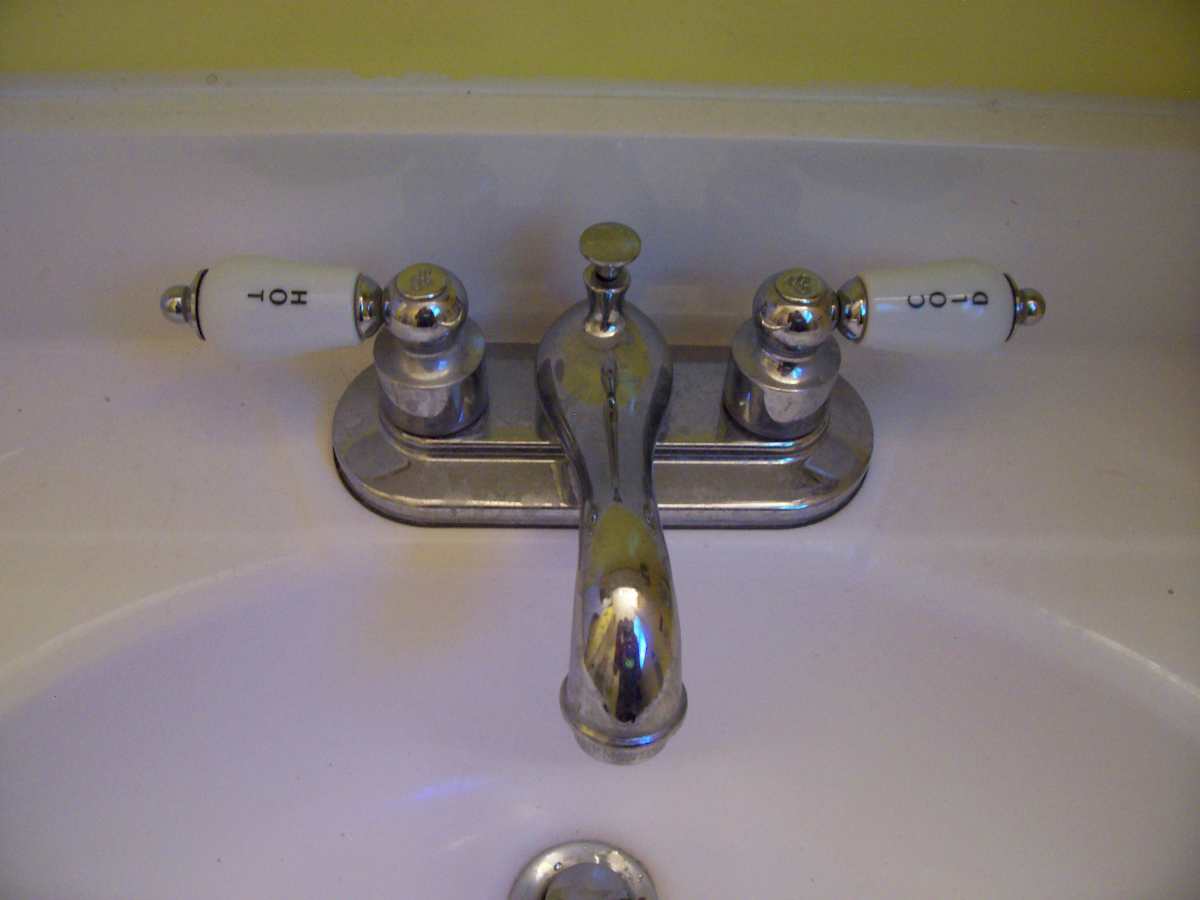
Next, carefully remove any decorative parts and components that may be on or attached to your faucet before beginning the disassembly process. Once this is done, it is time for you to unscrew and remove both handles. This will allow you full access to disassemble and access all of your faucet’s internal components. Make sure to keep a careful eye on each component as it’s removed so that you know exactly where it should go when it’s time for reassembly.
After all components have been removed from within the faucet, replace any faulty O-rings or washers with new ones, apply some lubricant if necessary, then reinstall all parts back into place in order of removal!
Replacing the damaged parts
Replacing the damaged parts of a leaking faucet or toilet is the most effective way to repair it and ensure that it is functioning properly. The outcome of a successful plumbing repair job will be improved water conservation, cost savings on maintenance bills, and better performance in general. Replacing the parts involves identifying which components are damaged and finding a suitable replacement part in either a retail store or an online plumbing supply.
Before replacing any component, the flow of the water should be shut off. It’s important to carefully read all instructions related to installation before beginning; incorrect assembly may result in leaks or blockages that can damage fixtures or even harm nearby items if not properly taken care of. Additionally, it’s also important to consider investing in additional sealants, such as Teflon tape, that can help provide further protection from leaks and corrosion.
After replacing the outdated component with its newer counterpart, proper sealing techniques should always be used for optimal results and to mitigate any chance of future damage caused by unwanted water flushes. Lastly, after reinstating the flow of water supply (ensuring no major drops occur along its course) all connections should be double-checked before use.
:max_bytes(150000):strip_icc()/fix-a-leaky-faucet-4103580-hero-1c73901efd7848888a3efe8850174711.jpg) Conclusion
Conclusion
Making the decision to repair a leaking toilet or faucet is an environmentally conscious one. Not only will you be saving water, but you’ll also be saving money in the process. A properly maintained toilet or faucet can last for many years with minimal maintenance and repairs.
It is strongly recommended that before beginning any plumbing repair, you turn off the main water line to your home in order to properly isolate the fixture from the rest of your system and reduce any potential water damage resulting from improper installation or repair. Be sure to identify all components of the plumbing system before proceeding with any repair. If at any point during a plumbing project you feel uncertain or overwhelmed, it is best to seek professional advice as inadequate care may result in further damage and costly repairs down the line.
Overall, understanding how to participate in regular maintenance on your faucets and toilets can greatly reduce unnecessary stress along with costly repairs and overflowing toilets in the future!
See Also :
- Best Odor Eliminator For Bathroom
- Best Non-Slip Bathroom Rugs
- Best Lighted Bathroom Mirror
- Best Hand Towels For Bathroom
- Best Flooring For Small Bathroom